As you may have seen, I made some changes on the design of my blog. At the beginning, I was excited to play with html and the awesome tutorials I've had found to eliminate the ugly that Blogger.com imagined for us, newbies. I have since then applied many tutos on my layout and I wasn't really going to explain anything until I discovered how to transform my own handwriting into a font!
But before I get lost into technical details, walk back down memory lane with me when the blog looked like this:

I wanted something simple and elegant. Black and white translates that very well, but not exactly my version of it. I also had many difficulties changing the date header on the Blogger theme I had chosen so I was stuck with this very ugly left sided round date that was messing up with all my photos.
Then, as I discovered many more tutorials and became accustomed to Pixlr (a free and simpler version of Photoshop), I simplified the look of the blog, put up a navigation bar at the top and no later than this week I added a little info under the About section of the right sidebar: a short paragraph, written with my very own handwriting!
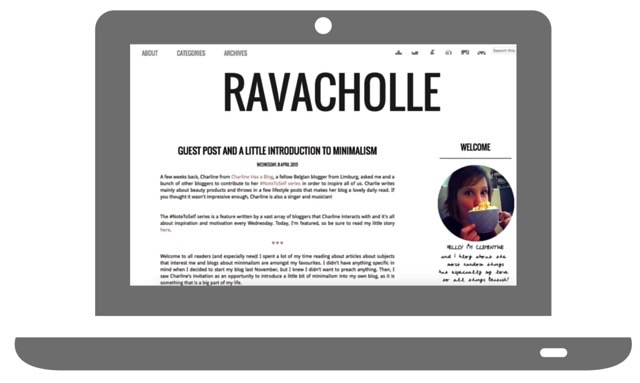
So, friends, do you recognize it? I wrote a little welcoming note and listed the main categories of my blog - categories that you can also find on the navigation bar.

Beforehand, I have to mention that you don't have to blog to create a font from your own handwriting. You can use it on your computer or with Word. Here is how I did it.
1. MAKE THE FONT
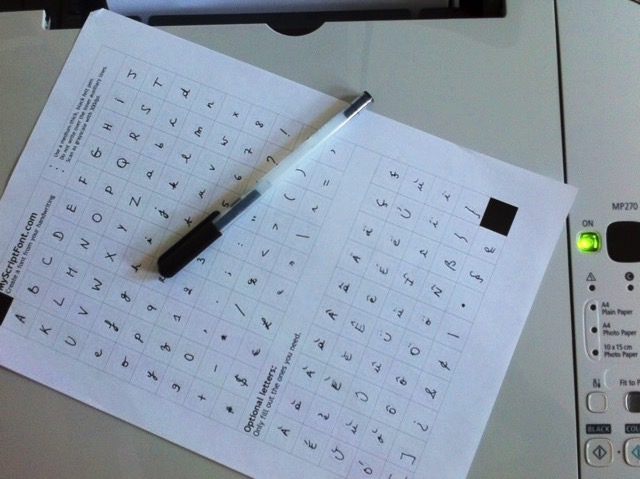
Click on this link to reach MyScriptFont. On the site, you have to download a PDF file. When this is done, print the template and fill out all the letters you need with a medium-thick, black or very dark blue pen.
Scan the sheet you just filled out and download it on the site. If you don't have a scanner, use the Genius Scan app on your phone or ipad.Name your font and click on "Start". Your font in a .tt format should be directly downloaded into your computer.
2. INSTALL YOUR FONT ON YOUR COMPUTER
If you use a Mac, simply add your font.tt to the System Font folder. If you use Windows, follow those easy steps
3. ADD YOUR FONT TO YOUR BLOG
I used a XOMISSE tutorial to successfully achieve this step. You first have to download the font folder into a web font generator. I used my free account on Dropbox and downloaded the new file onto the public folder.
In the .css file I obtained when I converted my font into a web font, I changed all the URL's with the links from my Dropbox public folder.
I then copied the code onto my blog CSS, just above ]]></b:skin> .The tutorial explains how to change the font in post titles simply by adding h3.post-title {font-family: 'FONTNAME';} (works with h1 or h2 as well) above the line ]]></b:skin> as well, but I didn't follow that...
4. USE THE FONT IN YOUR POSTS
... Instead, I just modified the html code within my posts. When I write a new article, I click on the html tab on the left top of my page and I add <span style="font-family: 'FONTNAME'; font-size: x-large;"> before the word or sentence that I want to be in my handwriting font and add the </span> just after. When you click on the writing tab (aka when you write without the html coding), you see how the word or sentence appears with your font. You can change the size if you like. Mine is a bit small, that's why I put it in x-large.WHEN I WRITE WITH UPPERCASES, IT DOES REALLY LOOK LIKE I JUST LEFT YOU A NOTE. EXCEPT I TYPED IT INSTEAD OF TAKING A PEN.
There you have it, how to use your font in Blogger posts or in your computer to type cute letters or add your handwriting to photos. This article was never meant to be without the tip from The College Prepster and the marvelous help from the XOMISSE tutorial.
What did you think? Would you try it too?